Rails, GraphQL, and TypeScript: a monolith worth trying
Ruby on Rails has been a powerful framework for building web apps for well over a decade. In recent years, Rails has expanded its capabilities to support modern frontend technologies with barely any configuration. In doing some proof-of-concept work for an app idea, I built a stack I’m quite happy with.
- Rails serves a GraphQL API.
- Rails also serves a webpack-based frontend, and compiles it for us.
- Types are synchronized between GraphQL and TypeScript, so I can never misuse query results.
All of this was achieved with very little configuration thanks to Rails’ excellent defaults.
If you’d like to see a working example, I’ve built a proof-of-concept repository with these features fully set up. The commits mimic the steps in this post.
Starting with Rails
I began with a fresh Rails app, but it’s just as easy to set this up with an existing one, especially if you’re already using GraphQL and/or Webpacker.
If you’re just starting out with Rails, check out the official getting started guide. This walkthrough assumes you have a little familiarity with Rails.
Set up GraphQL
The graphql gem makes setting up our GraphQL API as easy as
running a few commands. First, add the gem to your Gemfile,
somewhere above all the group declarations:
#...
gem 'bootsnap', '>= 1.4.2', require: false

gem "graphql"

group :development do
  # ...
Then, update your dependencies and generate the GraphQL Ruby boilerplate:
bundle install
rails generate graphql:install
This generator attempts to give you a nice
GraphiQL UI to query
your API in development, but it didn’t work for me out of the box. I had
to add the following lines to
app/assets/config/manifest.js. You may have to, too:
//= link_tree ../images
//= link_directory ../stylesheets.css
//= link graphiql/rails/application.js
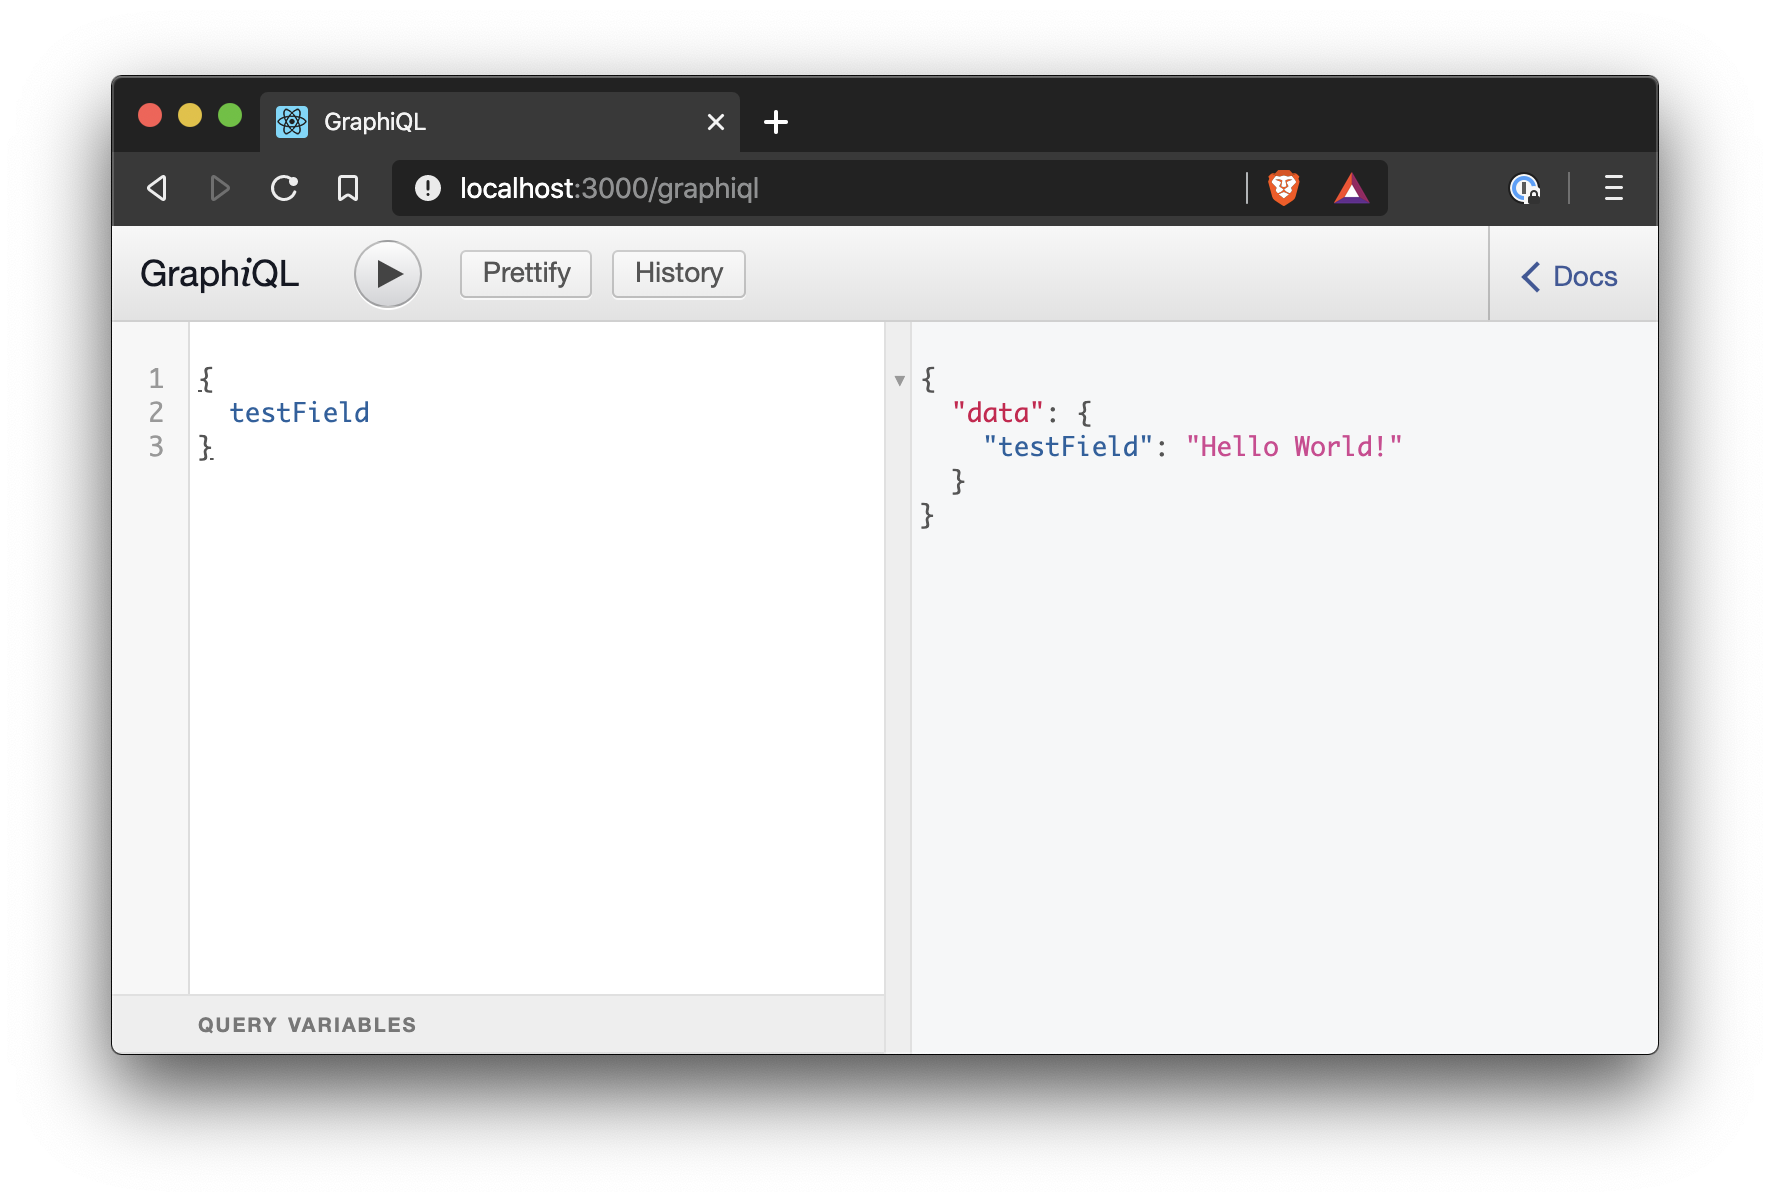
//= link graphiql/rails/application.cssRestart your server. If you go to http://localhost:3000/graphiql, you’ll see a GraphiQL console in your browser so you can query your new GraphQL API. Run a query, just to make sure everything’s wired up properly.
Setting up the frontend
Rails uses webpack to compile assets by default. If you’re on Rails 6, it’s likely already set up in your application. To set up TypeScript support, you can use a simple command provided by Webpacker:
bundle exec rails webpacker:install:typescriptThis will add some configuration to Webpacker to enable TypeScript support. Let’s also convert Rails’ generated JavaScript file to TypeScript and delete the example file the generator produced:
mv app/javascript/packs/application.js app/javascript/packs/application.ts
rm app/javascript/packs/hello_typescript.ts
Next, let’s set up a blank page just so we have a place to run our
JavaScript. If you already have such a route, skip this part. For
brevity, we’ll use ApplicationController, but in production
you’d be best off making a controller specifically to serve your
frontend. Any actions placed in ApplicationController will
be inherited by all controllers in your application, which could lead to
chaos.
In application_controller.rb, create the empty controller
action:
class ApplicationController < ActionController::Base
  def index
  end
end
Create a (mostly) empty view:
mkdir app/views/application
echo "<h1>Hello, world</h1>" > app/views/application/index.html.erb
Then define a route that sends requests to / to this route
in config/routes.rb
Rails.application.routes.draw do
  if Rails.env.development?
    mount GraphiQL::Rails::Engine, at: "/graphiql", graphql_path: "/graphql"
  end
  post "/graphql", to: "graphql#execute"

  root to: "application#index"
end
Here you can also spot how, earlier, the graphql generator
added a GraphQL endpoint and the GraphiQL page.
Finally, let’s add some code to application.ts to verify
things are working. Rails also starts a few of its built-in library in
this file—I’m going to leave those out from now on.
// <some require() calls for tubolinks, activestorage, etc.>

console.log("Hello from the console!")
Refresh http://localhost:3000. You should see “Hello, world!” on the page and another, similarly zealous greeting in the console.
You might notice that loading the page took a while. This is because Webpacker is recompiling your whole webpack app on every request. You can instead tell Webpacker to run a separate development server that will recompile only when you change files. In a separate terminal, run this:
bin/webpack-dev-serverIf you reload the page, you’ll see it’s super quick now. Rails automatically defers asset requests to the webpack development server rather than triggering a webpack compilation on every request.
Making GraphQL calls from our frontend
Let’s have our component actually run a GraphQL request against our API. First, install the Apollo client:
yarn add @apollo/client react
This comes with TypeScript typings for free. In fact, everything in
Apollo’s ecosystem is written in TypeScript. You may have noticed we
also added react—we won’t actually be using React in this
tutorial, but the Apollo client is a React client. If this doesn’t work
for you, you’re welcome to use any one of Apollo’s integrations with
other frameworks.
Let’s set up the client in application.ts:
import { ApolloClient, HttpLink, InMemoryCache, gql } from "@apollo/client"

// <some require() calls for tubolinks, activestorage, etc.>

const railsCsrfToken = document
  .querySelector("meta[name=csrf-token]")
  ?.getAttribute("content")

const client = new ApolloClient({
  cache: new InMemoryCache(),
  link: new HttpLink({
    uri: "http://localhost:3000/graphql",
    headers: {
      "X-CSRF-Token": railsCsrfToken,
    },
  }),
})
We’re extracting Rails’ CSRF token from the page and sending it along
with the GraphQL requests—it’s one cool advantage of serving our
frontend from Rails. An alternative strategy is to disable CSRF
protection within GraphqlController.
Then, below that, we’ll tell the client to make a GraphQL request:
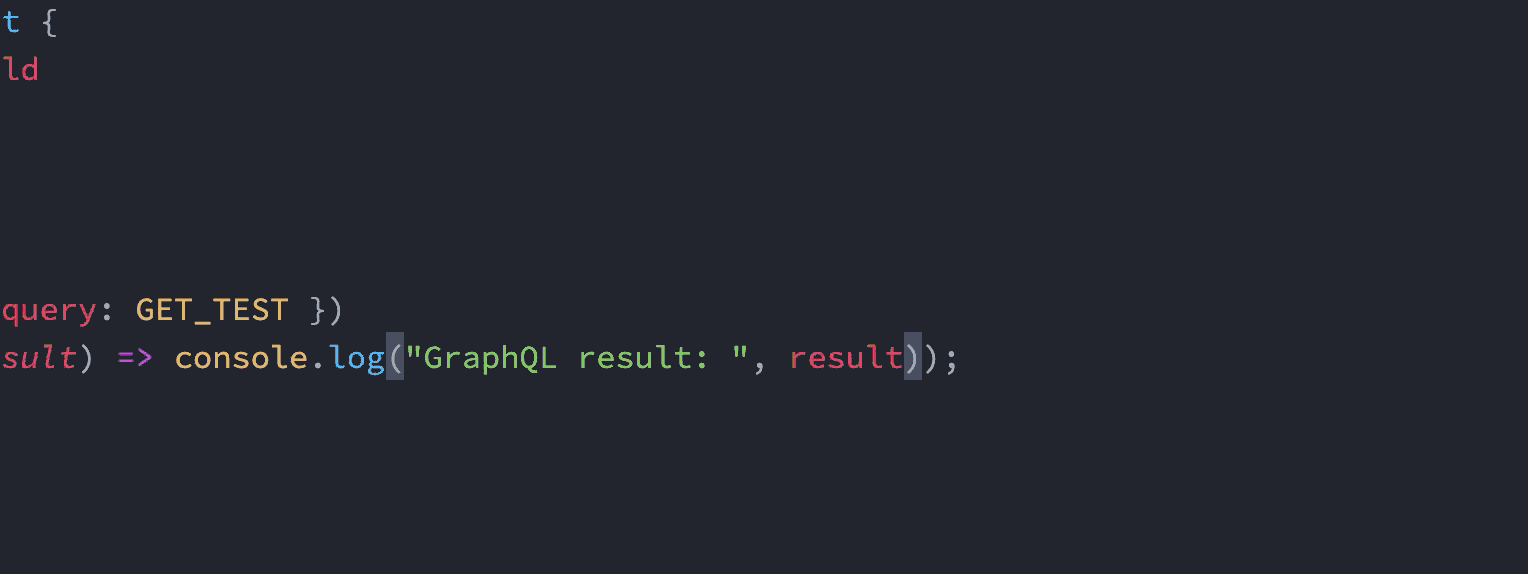
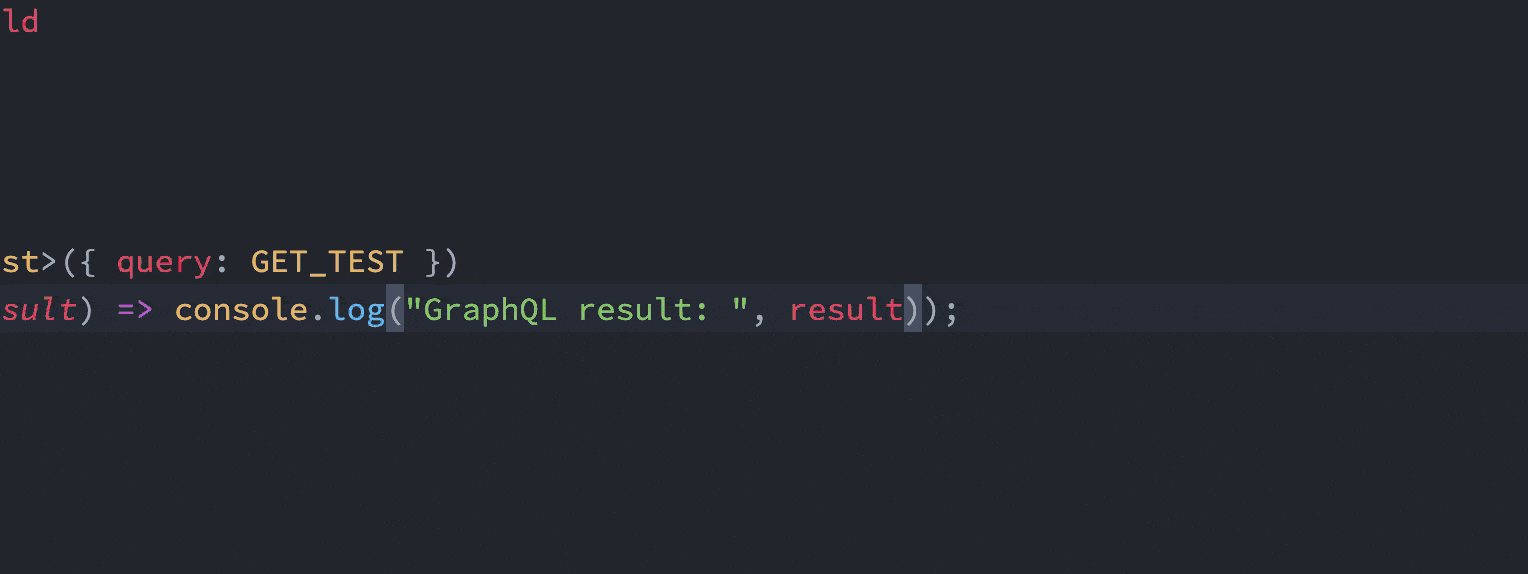
const GET_TEST = gql`
query Test {
testField
}
`
client
.query({ query: GET_TEST })
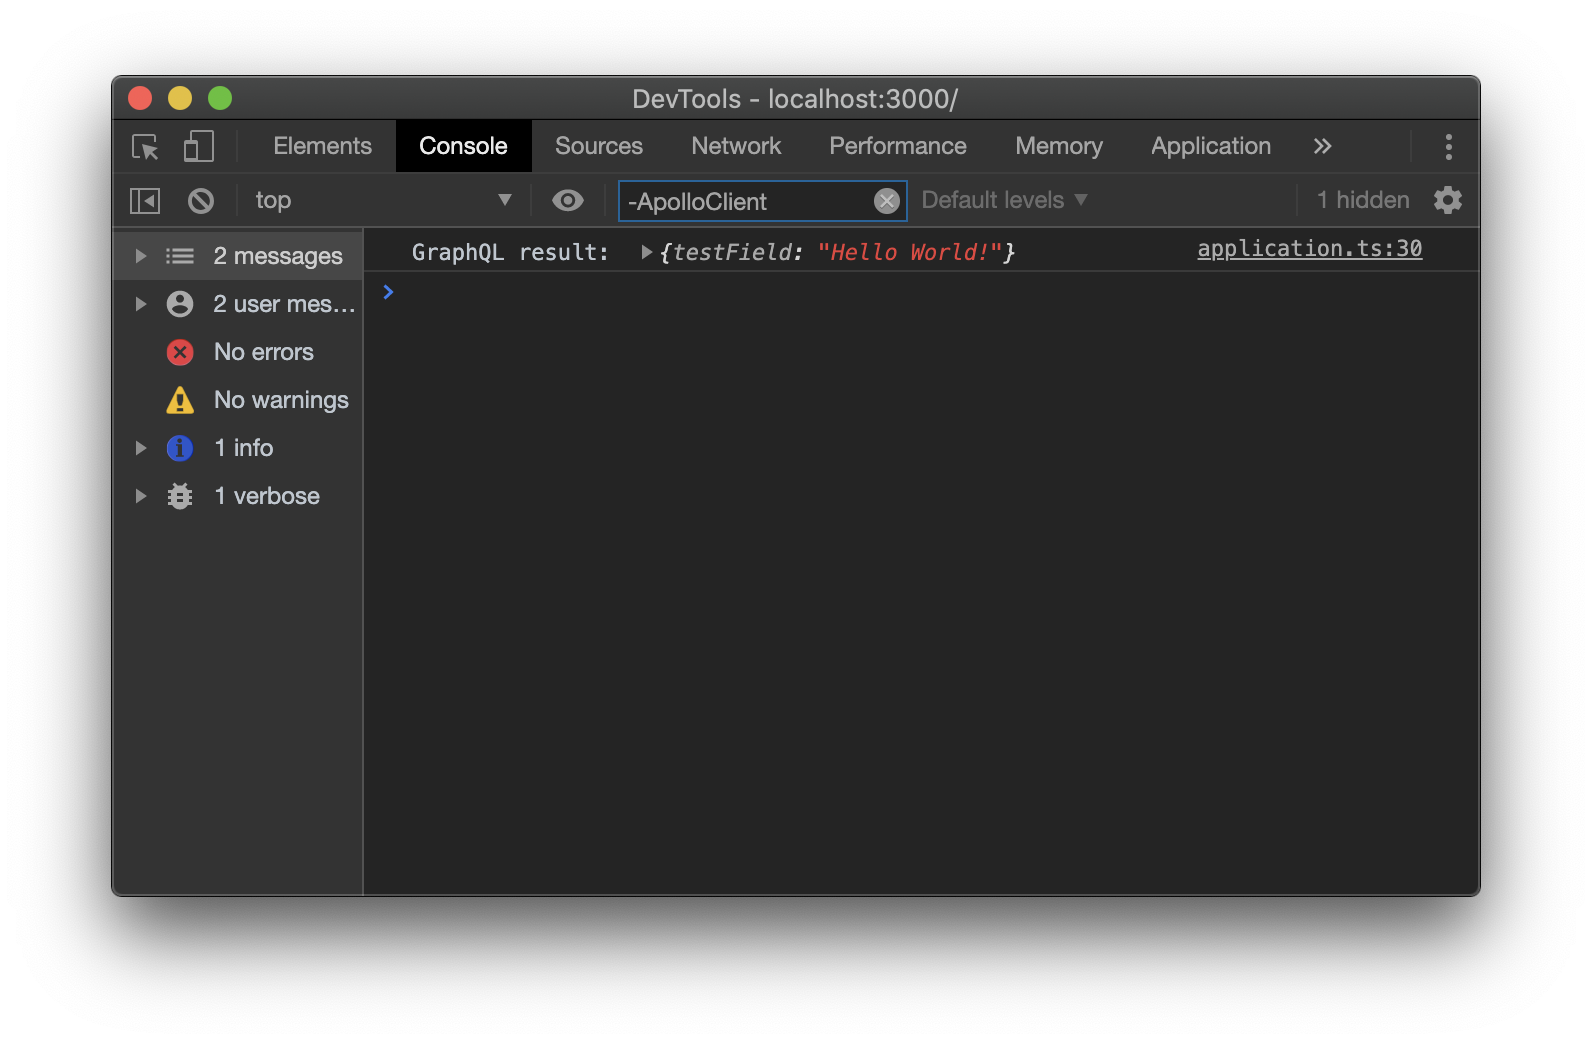
.then(result => console.log("GraphQL result: ", result.data))If you refresh the page, you should see the GraphQL API call result in the console.
Two type systems: GraphQL and TypeScript
This section is the crux of this guide. Look in
application.ts—TypeScript has no idea what
result.data looks like. It could be an object, array,
string, even a function—its type is any, and
any is dangerous in this context.
Imagine you’re querying a user, but forget to ask for their name.
Wouldn’t you like to know that result.data.name will never
exist? If we had more complete types, such a mistake would be stopped at
build time.
const GET_CURRENT_USER = gql`
  query GetCurrentUser {
    currentUser {
      # forgot to ask for "name"
      birthday
    }
  }
`

client
  //     ↓↓↓↓↓↓↓↓↓↓↓↓↓↓↓↓↓↓ if we had types like this...
  .query<GetCurrentUserType>({ query: GET_CURRENT_USER })
  .then(result => {
    // ... then this wouldn't compile (a good thing).
    alert("Hello, " + result.data.currentUser.name)
  })
We need a way to know the shape of this response. We could generate it manually, but that’s tiresome, and feels silly when we have a GraphQL schema with sound typing.
Apollo codegen
Enter
apollo client:codegen. It’s a code generator that can take a GraphQL schema, scan a
repository for GraphQL queries, and turn them into type declarations. It
supports TypeScript, Flow, and Swift.
Export the schema to SDL
First, we need our schema in a format Apollo understands. We can’t just pass it our Ruby file—Apollo doesn’t integrate at all with the GraphQL gem. Instead, we can tell GraphQL Ruby to output our schema in the GraphQL SDL (Schema Definition Language), which Apollo does understand. From there, Apollo can connect our schema to our queries and generate typings for each query.
The first step is getting GraphQL Ruby to give us the schema. Create
lib/tasks/graphql.rake and define this task inside of it:
task dump_graphql_schema: :environment do
  # Replace "MySchema" with your schema's Ruby class name.
  schema_definition = MySchema.to_definition
  schema_path = Rails.root.join("app", "graphql", "schema.graphql")
  File.write(schema_path, schema_definition)
  puts "Updated #{schema_path}"
end
GraphQL Ruby’s Schema#to_definition method returns a string
containing exactly what we need—our schema in SDL. Let’s run this new
rake task:
rails dump_graphql_schema
This creates app/graphql/schema.graphql, our schema in pure
GraphQL SDL.
Set up the Apollo CLI
Now that this exists, we can easily tell the Apollo CLI how to generate types. Let’s first install it:
yarn add --dev apollo
Then we’ll make a new file at the root of our directory,
apollo.config.js, and tell it how to find everything we’ve
built and where to put types. Again, replace MySchema with
your schema name.
module.exports = {
  client: {
    output: "app/javascript",
    outputFlat: true,
    includes: ["./app/javascript/**/*.ts"],
    tagName: "gql",
    service: {
      name: "MySchema",
      localSchemaFile: "./app/graphql/schema.graphql",
    },
  },
}
From top to bottom, we have:
output: where to put types-
outputFlat: stick all generated types into one file -
includes: where to find all the queries we’re writing -
tagName: the name of the function we wrap our queries in service.name: the name of the schema-
service.localSchemaFile: the location of the file we generated in the previous step
Lastly, we’ll set up an NPM script to run our Rake task and the Apollo
codegen. In package.json, add the following:
{
  "name": "cms",
  "private": true,
  "scripts": {
    "graphql:codegen": "bin/rails dump_graphql_schema && apollo client:codegen --target typescript"
  }
  // ...
}
Let’s run it:
yarn graphql:codegen
And now, with very little work, you’ve got types inside of
app/javascript/packs/__generated__ for each of your
queries. The name of each file (and interface inside each file) is the
same as the name of your particular GraphQL query.
You can run this command whenever you make changes to your schema, or
use something like
Guard (Ruby) or
Watchman (Node) to
run it whenever relevant files change. I used Guard to run this command
whenever app/graphql/**/*.rb and/or
app/javascript/**/*.ts changes.
You should also run this command in CI whenever you compile your TypeScript—it’ll ensure your types are up-to-date before checking them.
Tying it all together
At last, we have all the pieces we need to add types to our GraphQL
query. Open up application.ts again, and add the types that
were generated.
import { ApolloClient, HttpLink, InMemoryCache, gql } from "@apollo/client"
import { Test } from "./__generated__/Test"

// <rails require() calls, yet again>

const railsCsrfToken = document
  .querySelector("meta[name=csrf-token]")
  ?.getAttribute("content")

const client = new ApolloClient({
  cache: new InMemoryCache(),
  link: new HttpLink({
    uri: "http://localhost:3000/graphql",
    headers: {
      "X-CSRF-Token": railsCsrfToken,
    },
  }),
})

const GET_TEST = gql`
  query Test {
    testField
  }
`

client
  .query({ query: GET_TEST })
  .query<Test>({ query: GET_TEST })
  .then(result => console.log(result.data))
Merely the fact that we wrote a query named Test caused its
return type to be generated. This is great for us, because it means we
can ensure that result.data is exactly the shape it will
actually be in production.
Closing thoughts
-
I’ve made an example repository with this setup. Feel free to clone, alter, open issues, turn it into a generator—whatever!
-
The natural continuation of this is to start building React components. For that, you’ll have to set up Webpacker to support React. You may have to alter
tsconfig.jsonafter running the React generator. -
You should also add these generated files (both the TypeScript files and the GraphQL schema) to your
.gitignore. -
Since we made an
apollo.config.js, Apollo’s Visual Studio Code extension will work out of the box and annotate your query’s types.
Hope that was fun! If you have any questions or feedback, or just want to know when I write something else, follow me on Twitter.